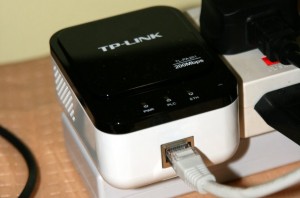
Homeplug Powerline Ethernet – Setting Up One At Home

I had been wanting to setup a powerline Ethernet using Homeplug adapters in my home.
Recently, due to installing some new equipment, my Internet Access point (Modem) was shifted to another room. I decided to use powerline Ethernet to connect my existing equipment to the Internet Access Point (Modem).
I used TP-Link 200Mbps Homeplug adapters to do connection.
According to the Quick Instruction Guide, all I had to do was to plug in the Homeplug Adapters onto the powerline. The two Homeplug adapters will automatically connect to each other.
True enough, it was a quick and simple installation. It took only a few seconds for the two adapters to form the network.
Now, it was time to make my powerline Ethernet private. It was to prevent others outside the house to connect to my network.
The instruction was put inside the softcopy manual inside the CD-ROM provided. According to the manual, the homeplug adapters can only find and connect to other homeplug adapters with the same network name. This can be changed using the utility software provided.
The inconvenient part was that, I had to unplugged the Homeplug Adapter to copy down the MAC address and Password printed there. These information was needed for the utility software provided to access the individual Homeplug Adapter to change the network name.
Despite the small inconvenience, the process was simple and straight forward. It took me a few minutes to do so.
In term of performance, there was no noticeable change in the my Internet Access Speed. The only difference was that, I had one less power socket point in each home.


Leave a Reply